StarTree
Summary
This document covers the information to gather from StarTree in order to configure a Qarbine data service. You can define multiple data services that access the same StarTree endpoint though with varying credentials. Once a data service is defined, you can manage which Qarbine principals have access to it and its associated data. A Qarbine administrator has visibility to all data services.
StarTree Configuration
Sign on to your StarTree console at https://startree.cloud/login.
Qarbine requires the following parameters to access the StarTree data:
- broker URL,
- controller URL,
- API token, and
- a database (optional).
Click

a new page is shown
Choose your workspace from the top dropdown. The workspace will be used as the generic “database” value within the Qarbine data service.
On the right side click

An API token is generated.

Copy the value into a temporary location. It will be used as the Qarbine data service token parameter.
Review the broker URL highlighted below.

Copy that URL into a temporary location as well. It will be used as the Qarbine data service broker parameter. The corresponding controller URL is the URL without the ‘broker.’ portion.
Qarbine Configuration
Compute Node Preparation
Determine which compute node service endpoint you want to run this data access from. That URL will go into the Data Service’s Compute URL field. Its form is “https://domain:port/dispatch”. A sample is shown below.

The port number corresponds to a named service endpoint configured on the given target host. For example, the primary compute node usually is set to have a ‘main’ service. That service’s configuration is defined in the ˜./qarbine.service/config/service.main.json file. Inside that file the following driver entry is required
"drivers" :[
 . . .
"./driver/starTreeDriver.js"
]
The relevant configuration file name for non primary (main) Qarbine compute nodes is service.NAME.json. Remember to have well formed JSON syntax or a startup error is likely to occur. If you end up adding that entry then restart the service via the general command line syntax
pm2 restart <service>
For example,
pm2 restart main
or simply
pm2 restart all
Data Service Definition
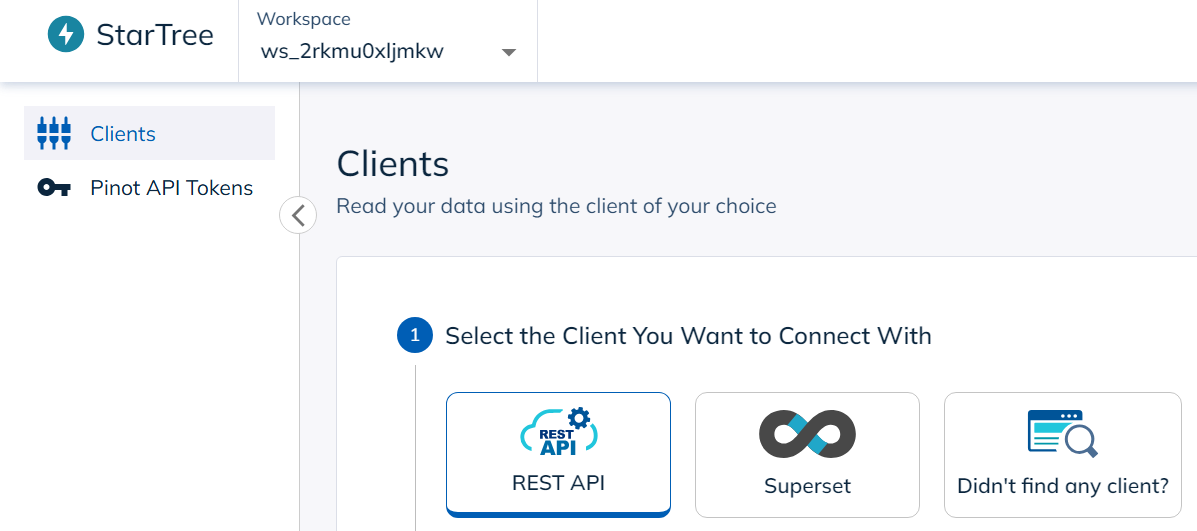
Open the Administration Tool.
Navigate to the Data Services tab.

A data service defines on what compute node a query will run by default along with the means to reach to target data. The latter includes which native driver to use along with settings corresponding to that driver. Multiple Data Sources can reference a single Data Service. The details of any one Data Service are thus maintained in one spot and not spread out all over the place in each Data Source. The latter is a maintenance and support nightmare.
To begin adding a data service click

On the right hand side enter a name and optionally a description.

Set the Compute URL field based on the identified compute node above. Its form is “https://domain:port/dispatch”. A sample is shown below.

Also choose the “StarTree” driver.

The server template is the broker URL value you copied above. An example is shown below.

The server options provide your API token information as shown below.

You can reference environment variables using the syntax %NAME%. The strings should be quoted and the key\value pairs separated by commas.
Enter any optional query options within the generic data options field. For possible options see https://docs.pinot.apache.org/users/user-guide-query/query-options.

Enter the workspace to access in the generic database field as shown below.

Enable the data service for the desired general user group.

Test your settings by clicking on the toolbar image highlighted below.

The result should be similar to the following.
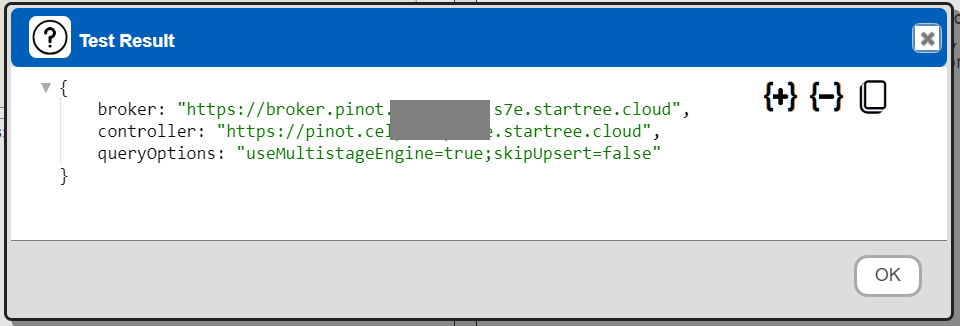
If you see

then go back and check the server template. The value maps to the StarTree broker URL.
Save the Data Service by clicking on the image highlighted below.

The data service will be known at the next log on time. Next, see the StarTree query interaction and any tutorial for information on interacting with StarTree from Qarbine.
Query Options
StarTree provides query options as described at the following link
https://docs.pinot.apache.org/users/user-guide-query/query-options
These options are global in nature and set by the Qarbine administrator when the StarTree associated data service is defined.
Sample Data Sets
StarTree Provided
StarTree provides sample data sets which are described at https://dev.startree.ai/docs/use-data-manager/sample-datasets
That page also includes information on loading the sample data.
Qarbine Provided
Qarbine has an ecommerce oriented sample dataset. The supporting files on the Qarbine host in the folder ˜/qarbine.service/sample/starTree are:
- Amazon-products.csv (in zip form),
- productTableConfig.json and
- productSchema.json.
Sign on to StarTree cloud.
Navigate to
Click

In the bottom left click
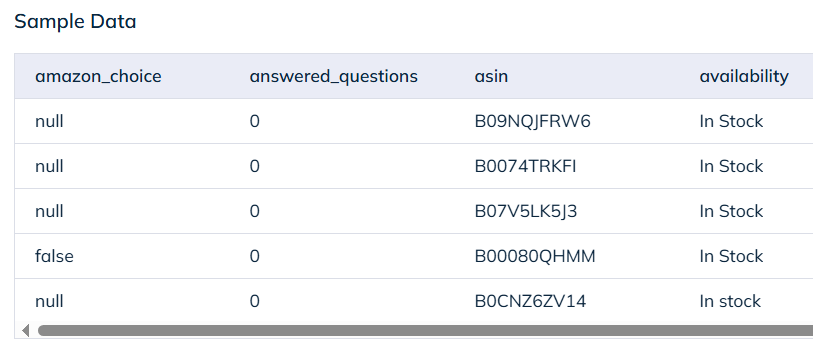
 The sample product data file is amazon-products.csv.
Click to open a file dialog or drag and drop the CSV file

The area changes to show the file

Click

Enter a name
 Click
Click 
Wait a bit to soon see sample rows.
Click
For the dimension data types these fields are DOUBLE:
- final_price and
- rating.
These fields are LONG or INT:
- answered_questions,
- bought_past_month,
- bs_rank,
- images_count,
- number_of_sellers,
- reviews_count,
- root_bs_rank, and
- video_count.
Click
Adjust the retention days as desired.
Click
The following seems to be OK

Click

The following should display.

The following seems to be OK

Click the highlighted text.

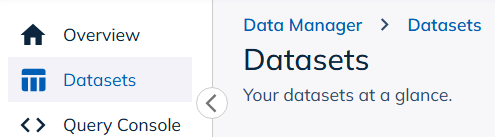
Open a Query Console by clicking on the highlighted option below.

Enter a basic query
 Click
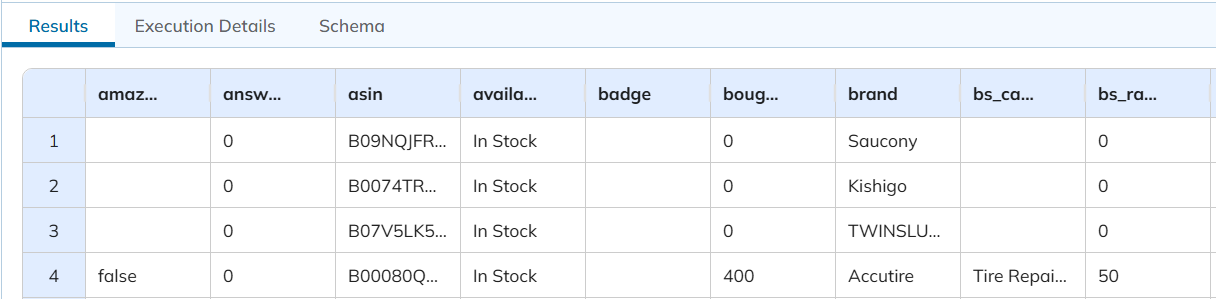
Click
Review the results.